How to send cold emails in 2025
After tweeting about this and getting more than 200K views I decided to write this blog post with a step-by-step detailed guide that will enable you to send thousands of cold emails per day while keeping a great reputation score.
But first, let me answer the questions that all of you might have:
Why not use one of the million email marketing services out there?
There are two types of email services in the market:
1- The email servers
These are services like Amazon SES, SendGrid, Mailgun, etc… That basically use their own email servers to send emails on your behalf. These services have a high reputation and guarantee great deliverability; however, they do not allow cold emails. Once they catch on to you, they will immediately block you.
2- The email facilitators
These are services that connect to your own email service and automate the sending process. Often, people connect these services to their Gmail or professional accounts. The problem is that services like Gmail have very strict limits, and you cannot send more than 100 emails per day.
Neither of these solutions worked for me because I wanted to send thousands of cold emails per day. My only option was to create my own server. Now, let’s dig in…
Create your own email server (step-by-step) ⤵️
Step One - Create your SMTP Server 💻
Create a VM on your preferred cloud service and use Docker to boot up an email server using Mailcow.
We personally use Hetzner, which offers a really simple UI with great prices. Plus, you can quickly set up everything by following this simple guide: Set up your own mail server with Mailcow
Step Two - Buy a new domain 💳
Buying an alternative domain will prevent you from running unnecessary risks that might destroy the reputation of your main domain.
Step Three - Warm up your server 🥶
Warming up your server is a crucial step of the whole process, and I cannot recommend MailReach enough. It costs $23 per month, and you just have to turn it on once and keep it running.
Mailreach has hundreds of controlled inboxes to which they send emails from your server. They will keep conversations going and remove messages that landed in the spam folder.
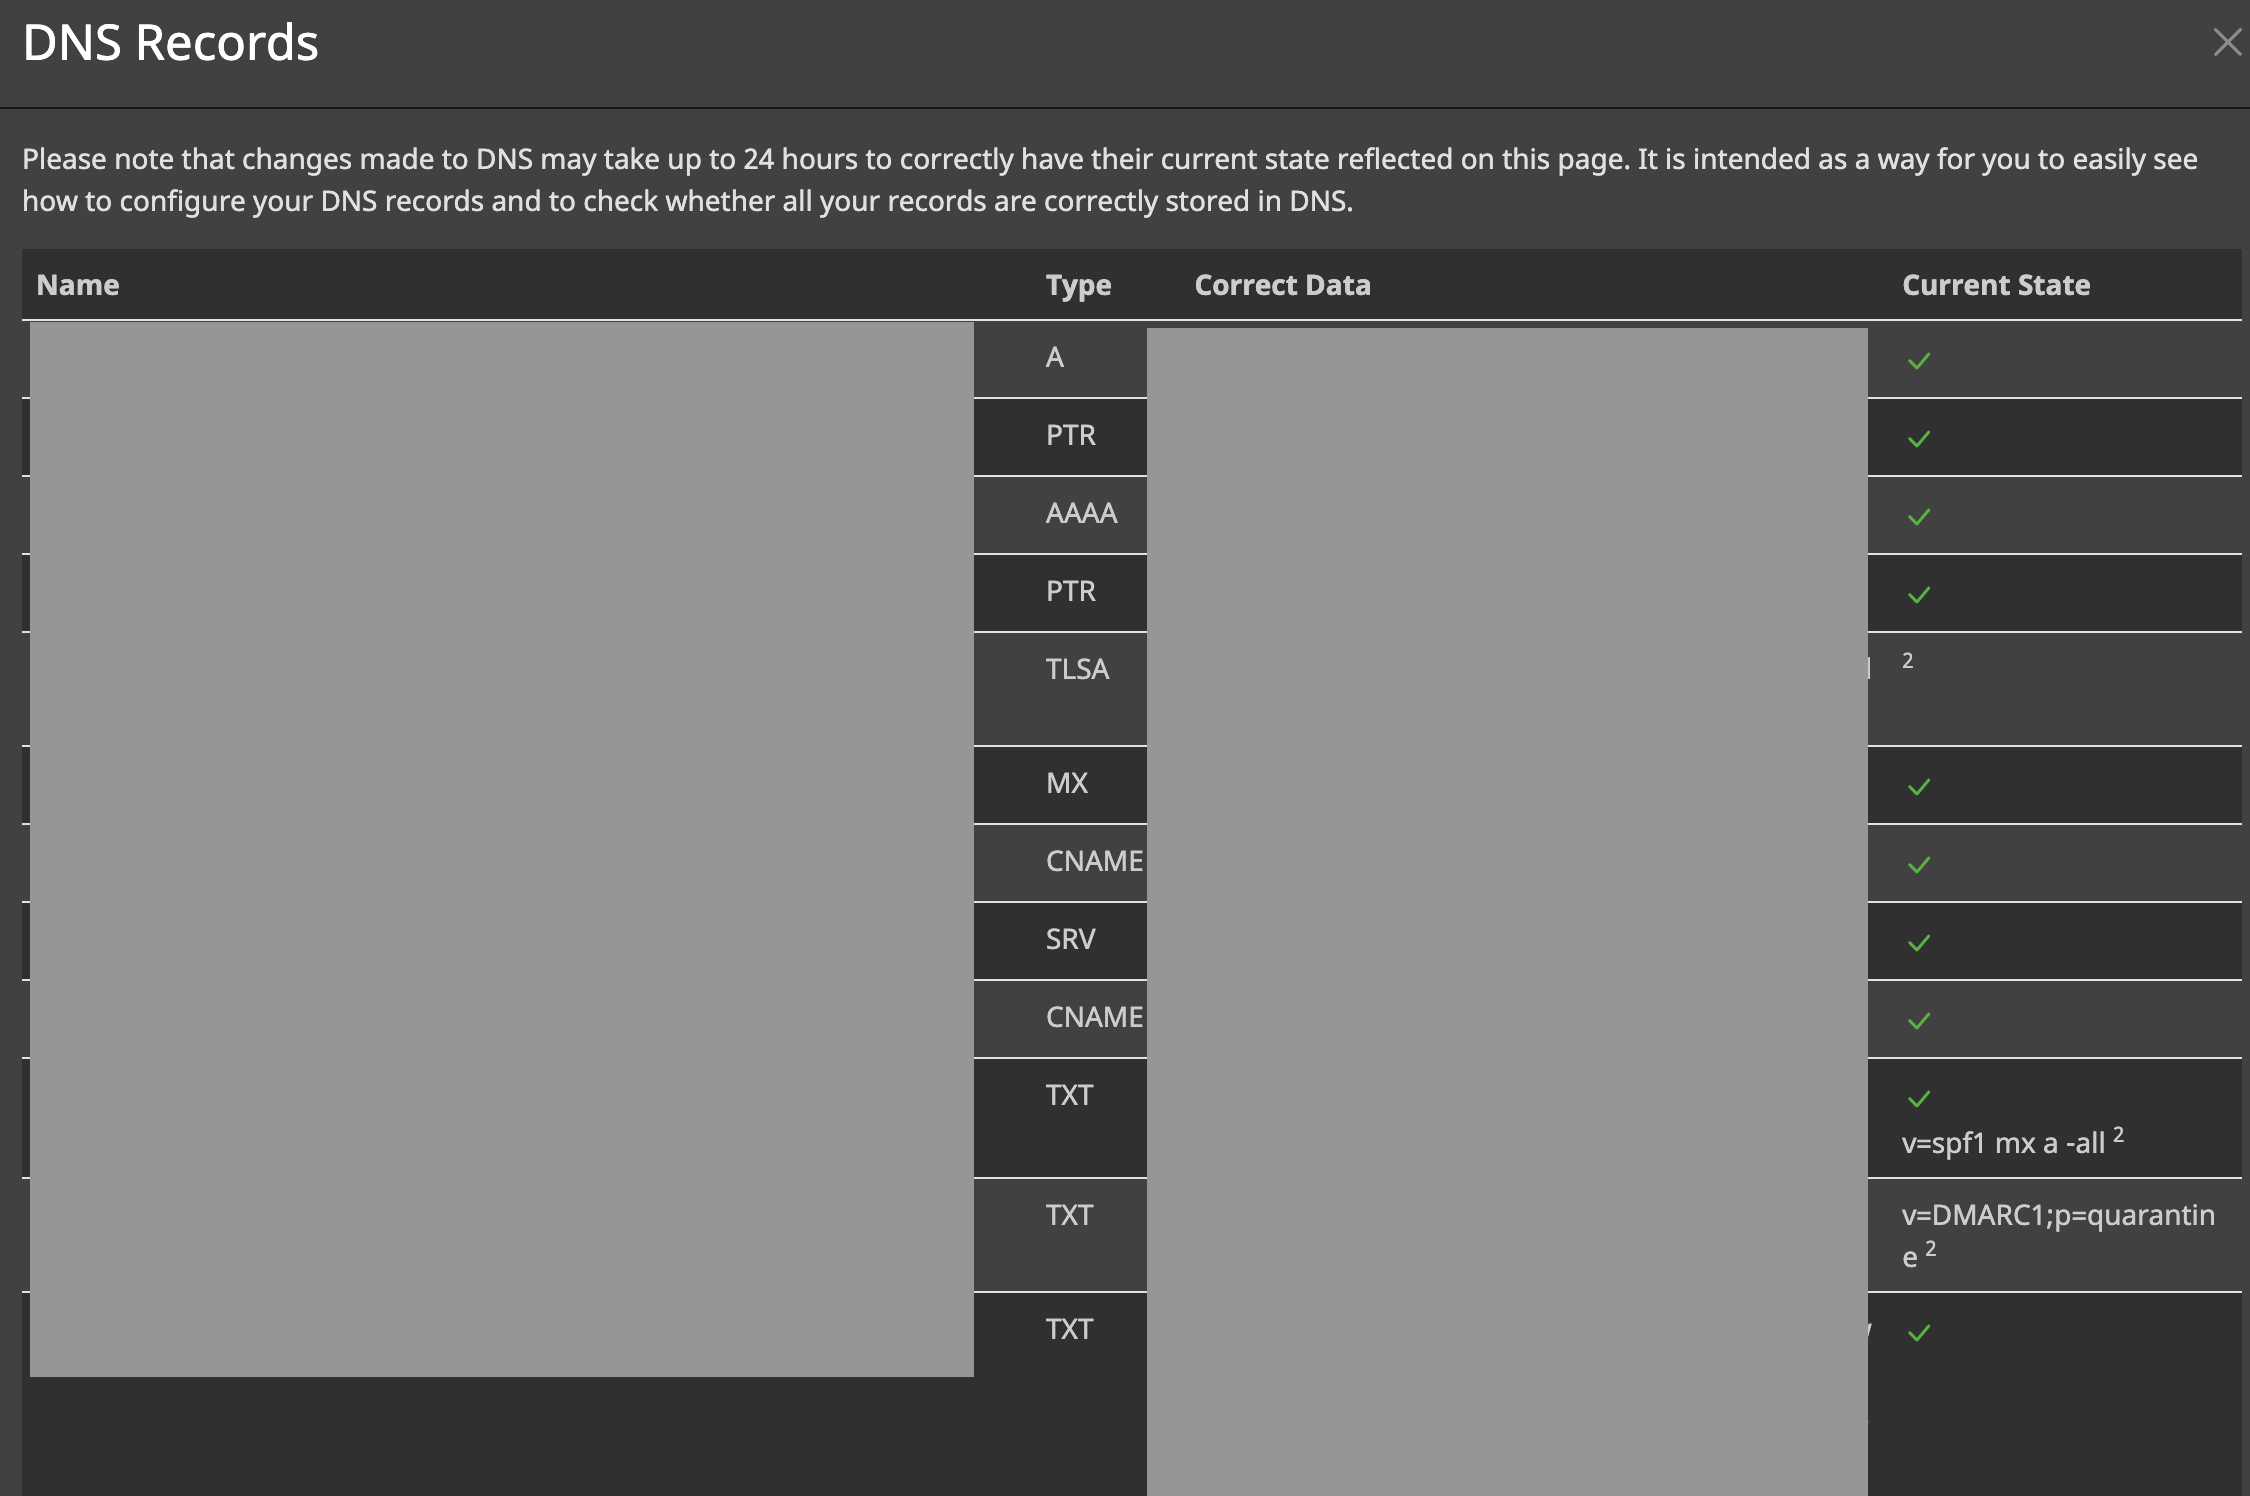
Step Four - SPF, DKIM, and DMARC 🔧
These names might look a bit scary, but they are actually really fascinating and important concepts.
In a nutshell:
SPF (Sender Policy Framework) is an email authentication method that detects email spoofing. The domain owner publishes a list with the ips of the email servers that are allowed to send emails on that domain behalf, and if the sending IP is not found, it may be marked as suspicious or rejected.
DKIM (DomainKeys Identified Mail) is an email authentication protocol that uses cryptographic signatures. The sending server signs parts of the email with a private key, and the receiving server verifies the signature using the corresponding public key in the sending domain’s DNS record.
DMARC (Domain-based Message Authentication, Reporting, and Conformance) is a policy that uses SPF and DKIM to determine email authenticity and defines actions to be taken if authentication fails.
Setting all of these up is actually not that complicated.
You can access all the necessary information on your MailCow backend like so:
1- Tap on configuration
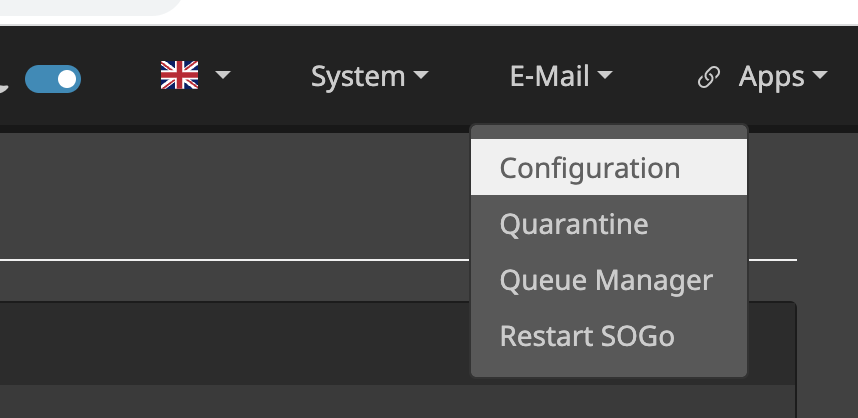
2- Tap on DNS on your selected domain
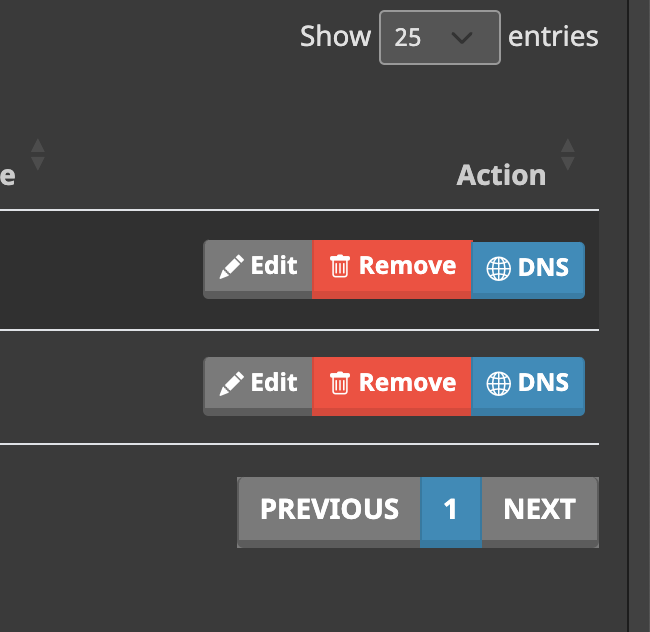
3- Copy and paste the given information into your DNS configuration and refresh until you have the green tick
Step Five - Validate your mailing list 📋
You want to reduce the chances of your emails being marked as spam at all costs!
So you need to create a highly targeted email list of people who will be happy to read your email. I can not stress this enough! You might be tempted to simply spam every email you know but that will just annoy people that will mark you as spam and destroy your server reputation.
After having your list, you can use an Email List Validation service (like emaillistvalidation) to remove all the potentially broken emails…
Step Six - Craft the perfect message 📝
Spend some time creating the best cold email possible. The words you use can actually determine if your email is considered spam or not.
MailReach has a Spam Checker service that I highly recommend you use to test multiple variations of your email.
Regarding the message itself, my advice is to keep it simple:
- Quick introduction about yourself
- What your product does and link to it
- Finish with a question
Step Seven - Be Human 🤖
Start sending your emails and try to replicate human behavior. Start slow with one or two emails per hour and slowly increase that number. Make sure to implement a random sleep interval between each send.
I personally created a simple Python script that runs every hour and sends X emails. However, there are other services out there that automate the sending process by connecting to your server.
Done
And that’s it 🙂 After that, it’s just a matter of monitoring your score and responding to all the emails you get.
If you have any questions reach out to me on twitter and if you want to continue on this topic listen to my podcast episode: The Good, The Bad, and The Spammy: My 2023 Cold Email Guide